Khalti Android SDK (Deprecated)
![]()

Welcome to Khalti's checkout documentation
Installation
Requirements
- Android 5.0 and above
- AndroidX (as of v2.00.00)
- Android Studio 3 and above
Quick Note
- We've dropped support of Android 4 since version
2.01.00
Configuration
Add khalti-android to your build.gradle dependencies
Also add the following lines inside the android block of your build.gradle file
compileOptions {
        sourceCompatibility JavaVersion.VERSION_1_8
        targetCompatibility JavaVersion.VERSION_1_8
   }
Disable R8 by adding the following lines inside your gradle.properties
Setup
Add KhaltiButton in your xml layout as follows
<com.khalti.widget.KhaltiButton
            android:id="@+id/khalti_button"
            android:layout_width="wrap_content"
            android:layout_height="wrap_content"
            app:khalti_button_style="khalti"/>
Add the following line in your root layout in your xml file if you're going to use khalti attribute.
Then, Locate your xml Khalti Button in your Java
XML Attribute
| Attribute | Description |
|---|---|
app:text |
Text to display |
app:khalti_button_style |
Set the style of KhaltiButton from the available options |
Use the khalti_button_style attribute in your xml file to select a button style for your Khalti button. Or you can use the
setButtonStyle() function in khalti button to set the style programmatically.
Available button styles
| Button style | Image |
|---|---|
| basic |  |
| khalti |  |
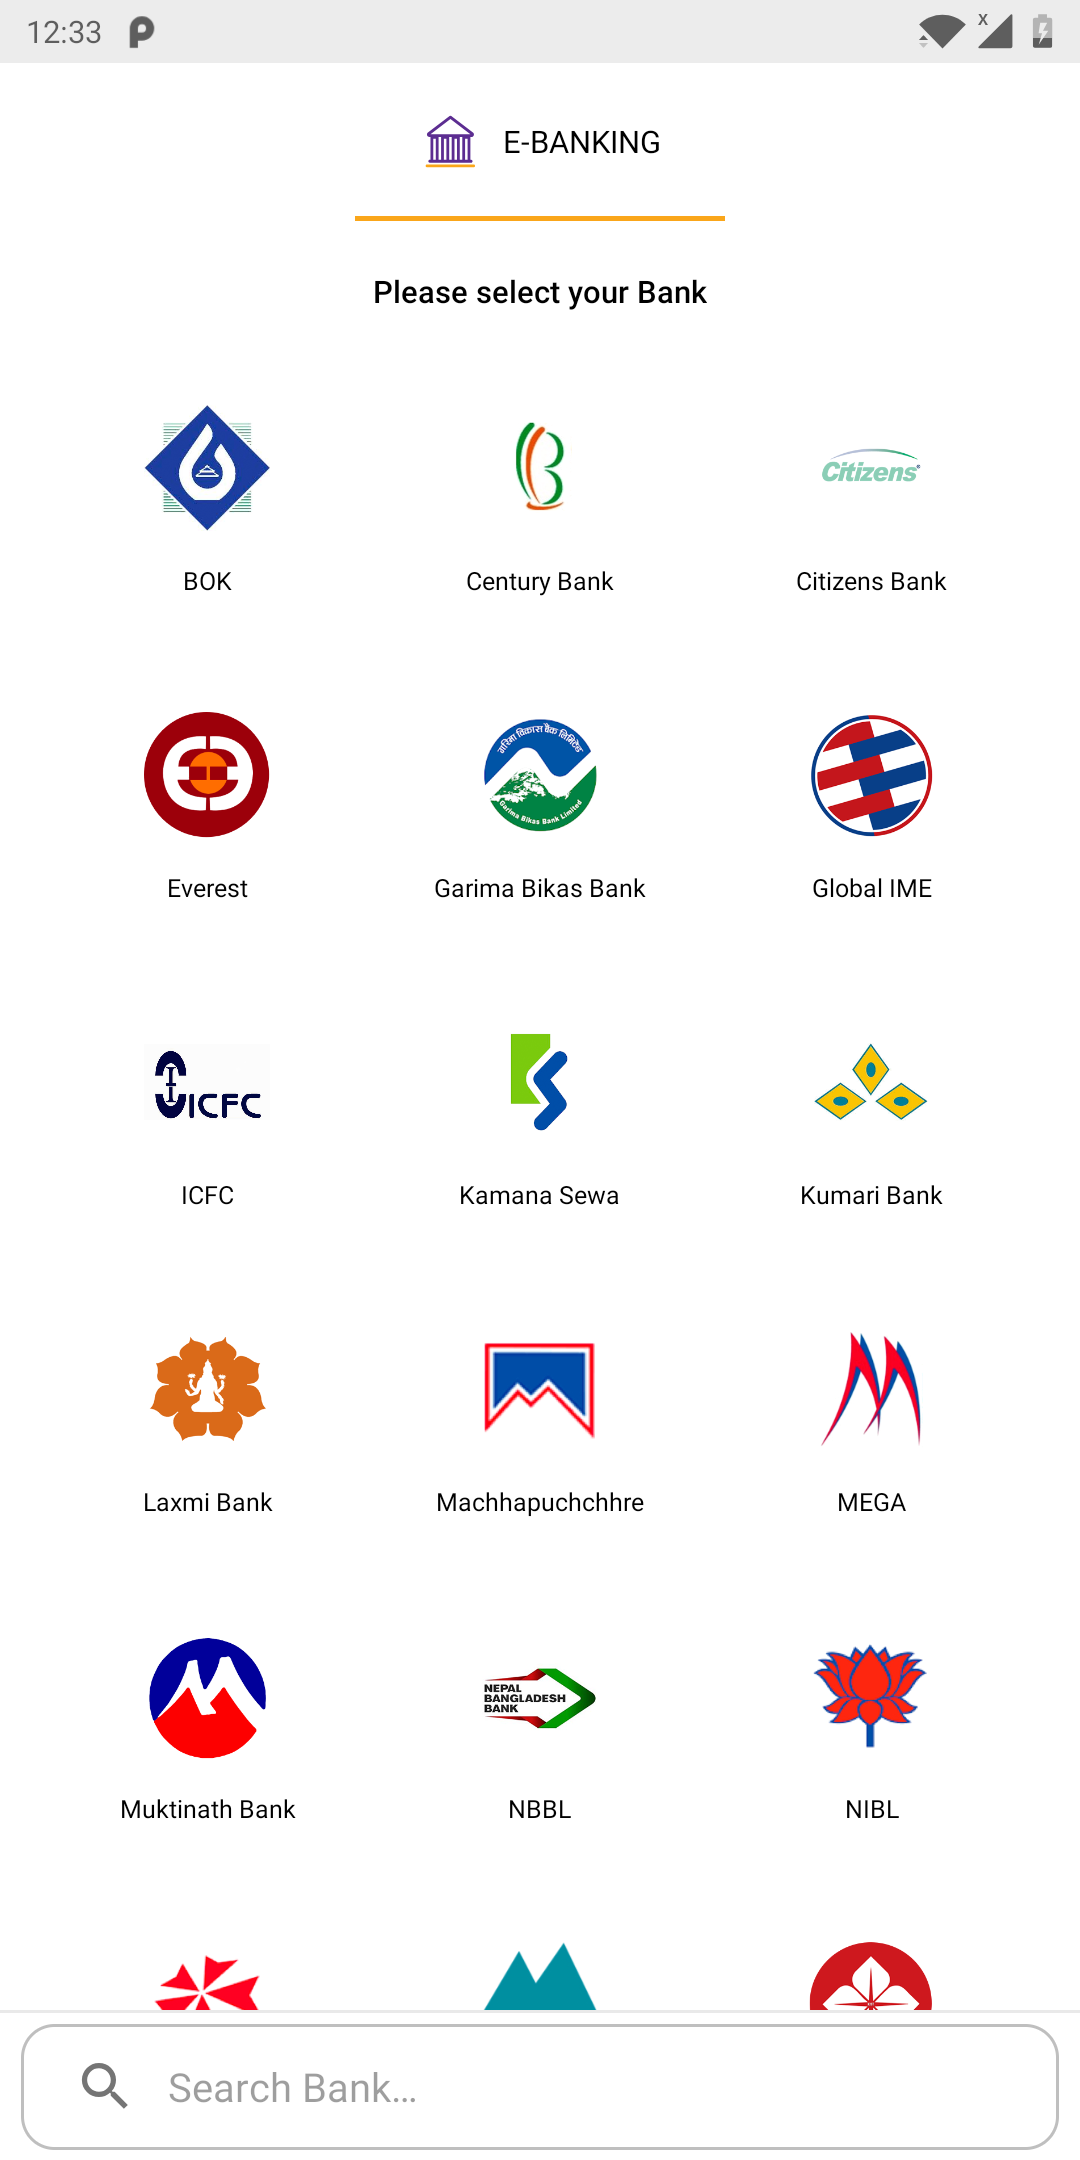
| e_banking |  |
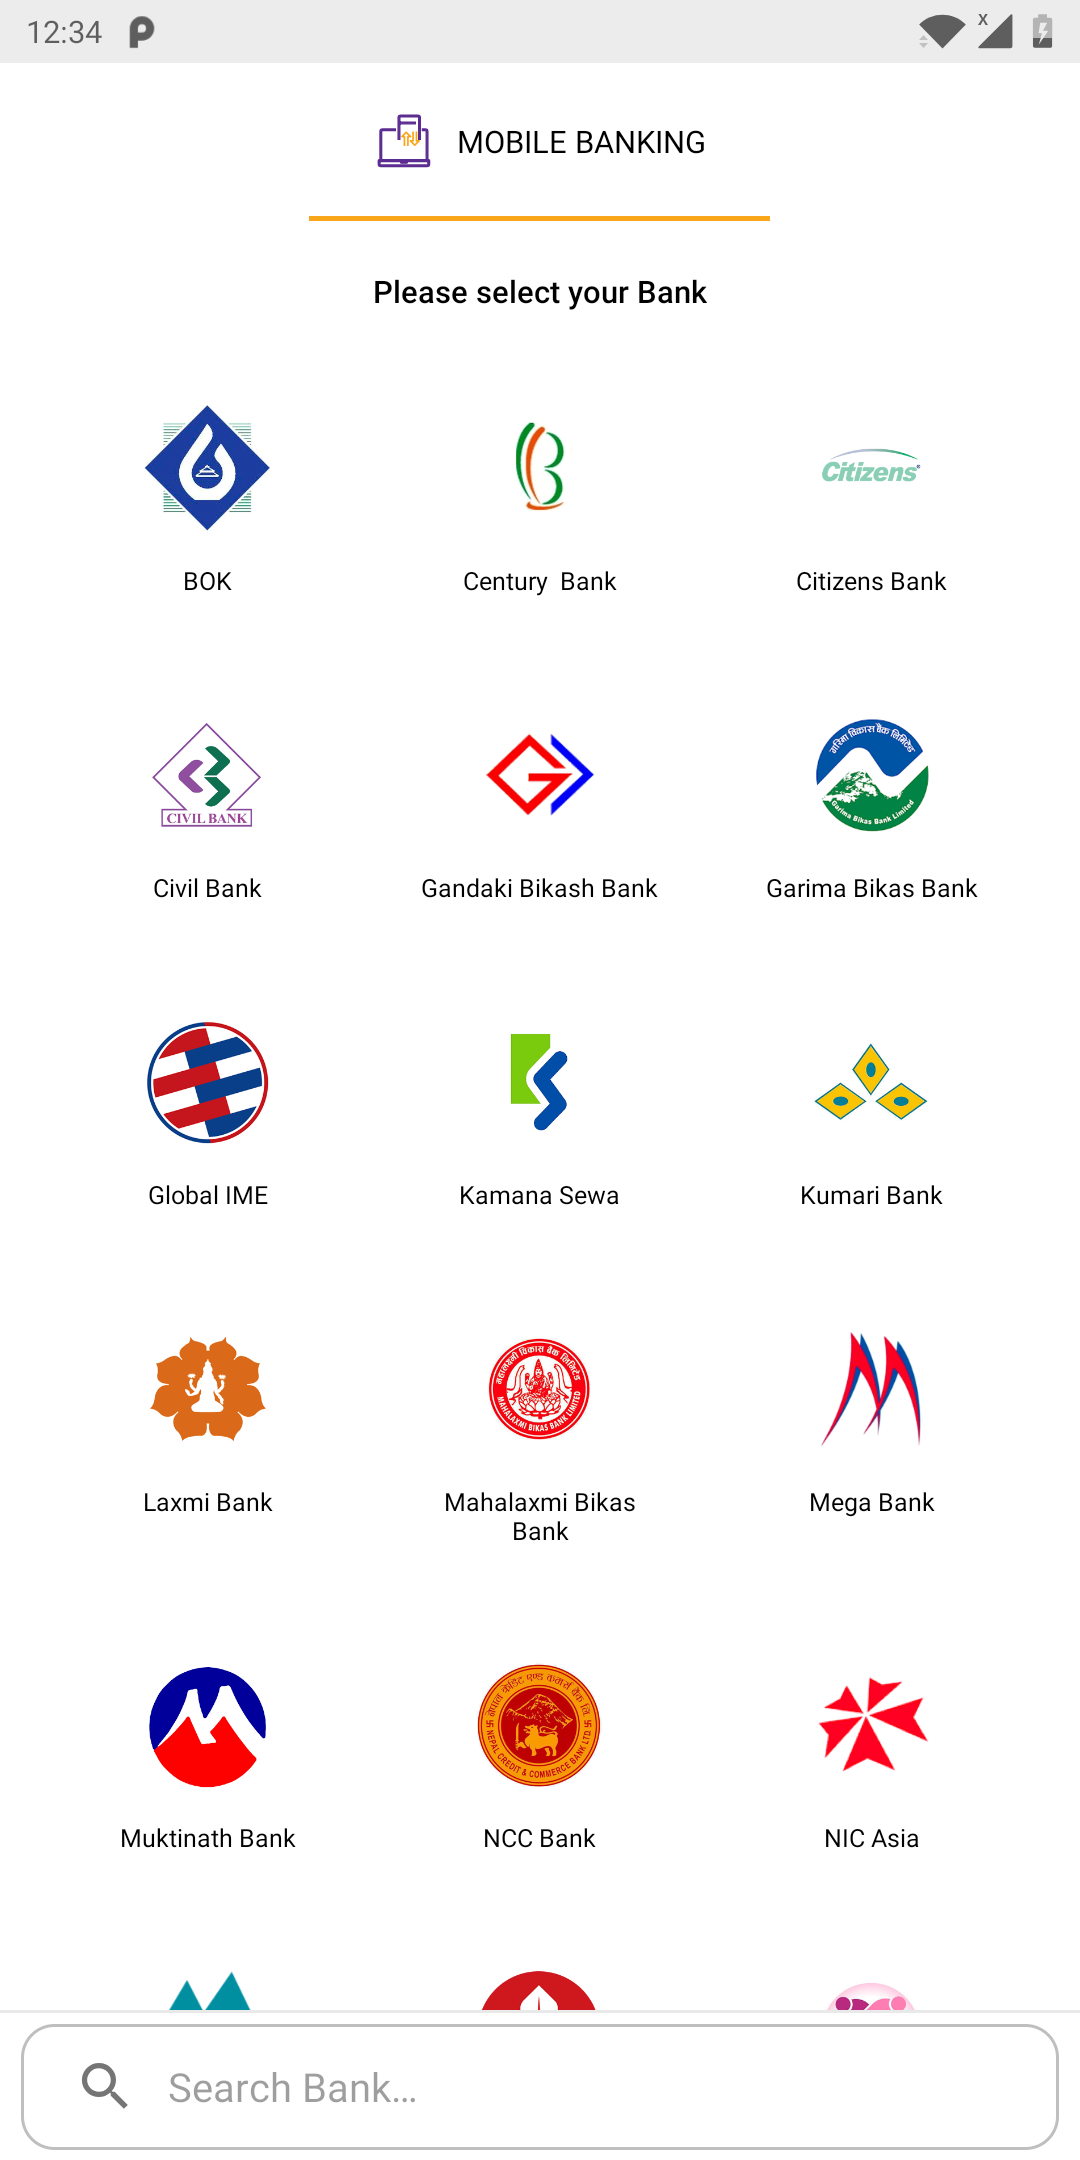
| m_banking |  |
| sct |  |
| connect_ips |  |
Alternatively you can also inflate KhaltiButton in your java class as follows
In order for Khalti button to be functional you'll need to pass an instance of Config.
Building Config
Create an instance of Builder class. Pass public key, product id, product name, amount (in paisa) and an implementation of OnCheckOutListener to the builder constructor.
Map<String, Object> map = new HashMap<>();
        map.put("merchant_extra", "This is extra data");

Builder builder = new Config.Builder(Constant.pub, "Product ID", "Main", 1100L, new OnCheckOutListener() {
            @Override
            public void onError(@NonNull String action, @NonNull Map<String, String> errorMap) {
                Log.i(action, errorMap.toString());
            }

            @Override
            public void onSuccess(@NonNull Map<String, Object> data) {
                Log.i("success", data.toString());
            }
        })
                .paymentPreferences(new ArrayList<PaymentPreference>() {{
                    add(PaymentPreference.KHALTI);
                    add(PaymentPreference.EBANKING);
                    add(PaymentPreference.MOBILE_BANKING);
                    add(PaymentPreference.CONNECT_IPS);
                    add(PaymentPreference.SCT);
                }})
                .additionalData(map)
                .productUrl("http://example.com/product")
                .mobile("9800000000");
Here, the functions paymentPreferences(),additionalData(),productUrl() and mobile() are optional and are not required to build the config. When passing additionalData through additionalData() functions make sure you add a merchant_ prefix in your map key.
Finally, call the build() function in builder to build the config.
Available Config Builder Methods
| Constraint | Method | Description |
|---|---|---|
| Optional | paymentPreference() |
Set which payment option tabs are to be shown |
| Optional | additionalData() |
Set additional data |
| Optional | productUrl() |
Add url of product |
| Optional | mobile() |
Preset mobile number in mobile field |
| Required | build() |
Build config |
Available payment preferences
| Preferences | Description |
|---|---|
PaymentPreference.KHALTI |
Show Khalti payment tab |
PaymentPreference.EBANKING |
Show E-banking payment tab |
PaymentPreference.MOBILE_BANKING |
Show Mobile banking payment tab |
PaymentPreference.CONNECT_IPS |
Show Connect IPS payment tab |
PaymentPreference.SCT |
Show SCT card payment tab |
Set Config
Set your config in your KhaltiButton.
Public Methods in KhaltiButton
| Constraint | Method | Description |
|---|---|---|
| Required | setCheckOutConfig(Config config) |
Set configuration required by Khalti checkout |
| Optional | setText(String text) |
Set text to display in KhaltiButton |
| Optional | setCustomView(View view) |
Replace KhaltiButton's default view with your custom view |
| Optional | setButtonStyle(ButtonStyle buttonStyle) |
Select between the available options to set KhaltiButton's style |
Callback Methods
| Method | Description |
|---|---|
onSuccess(Map data) |
This method is called when a transaction has been completed and confirmed by the user. A map containing an access token, required to verify the transaction and data passed to the Config through the Config bulder is returned. Once this method is called, use the access token to verify the transaction. Please follow the verification process for further instructions. |
onError(String action, Map errorMap) |
This method is called when an error occurs during payment initiation or confirmation. Action and errorMap value is passed where action defines the current action being performed and errorMap has the necessary information on the error. |
onCancel() |
This method is called when the user dismisses or cancels the checkout process. (When the user presses back button). |
Response Sample
Success Message
| Key | Value | Type |
|---|---|---|
| mobile | 98XXXXXXXX | String |
| product_name | Product Name | String |
| product_identity | Product Id | String |
| product_url(if passed) | Product Url | String |
| amount | 100 | Long |
| token | token | String |
| idx | Unique identifier | String |
The success message also contains all the key and value provided as extra data while building the Config.
Error Message
| Variable | Description | Type |
|---|---|---|
| action | Action performed - (initiate, confirm) | String |
| errorMap | Detail Error map | Map |
More Implementations
Method 1: With Custom Click Listener
Initialize the KhaltiCheckout Object
Use khaltiCheckout.show() to display Khalti widget
khaltiButton.setOnClickListener(new View.OnClickListener() {
            @Override
            public void onClick(View view) {
                khaltiCheckOut.show();
            }
        });
Method 2: With Custom View
Get your custom view
Set custom view to your khalti button
Check out the source for Khalti checkout on Github.
Check out the Verification process.
Changelog
Screenshots